> ## Documentation Index
> Fetch the complete documentation index at: https://docs.anchorbrowser.io/llms.txt
> Use this file to discover all available pages before exploring further.
# Cloudflare Web Bot Auth
> Authenticate browser sessions with Cloudflare Web Bot Auth
Anchor Browser supports Cloudflare Web Bot Auth HTTP message signing for browser sessions. This allows you to identify as Anchor Browser to websites that require Cloudflare's web bot authentication, enabling access to protected content and avoiding bot detection.
 ## How It Works
1. **Session Creation**: Create a browser session with web bot auth enabled
2. **HTTP Message Signing**: All HTTP requests are automatically signed as Anchor Browser
3. **Authentication**: Cloudflare validates the signatures
4. **Access Granted**: Successfully authenticated requests can access protected content
## Using Web Bot Auth
### How Authentication Works
When you enable web bot auth, Anchor Browser automatically identifies all HTTP requests to websites using our registered identity. This allows you to access protected content that requires Cloudflare's web bot authentication without any additional configuration.
### Browser Configuration
```typescript theme={null}
{
"browser": {
"web_bot_auth": {
"active": boolean // Enable/disable web bot auth (default: false)
}
}
}
```
### SDK Examples
Enable web bot auth by setting the `web_bot_auth.active` flag to `true` in your session configuration:
```python python theme={null}
from anchorbrowser import Anchorbrowser
import os
# Initialize the client
client = Anchorbrowser(api_key=os.getenv("ANCHOR_API_KEY"))
# Session configuration with web bot auth enabled
config = {
"web_bot_auth": {
"active": True
}
}
# Create session with web bot auth
session = client.sessions.create(browser=config)
print(f"Session created: {session.data.id}")
print(f"CDP URL: {session.data.cdp_url}")
print(f"Live view URL: {session.data.live_view_url}")
```
```javascript node.js theme={null}
import AnchorBrowser from 'anchorbrowser';
// Initialize the client
const client = new AnchorBrowser({ apiKey: process.env.ANCHOR_API_KEY });
// Session configuration with web bot auth enabled
const config = {
browser: {
web_bot_auth: {
active: true
}
}
};
// Create session with web bot auth
const session = await client.sessions.create(config);
console.log('Session created:', session);
```
## Testing
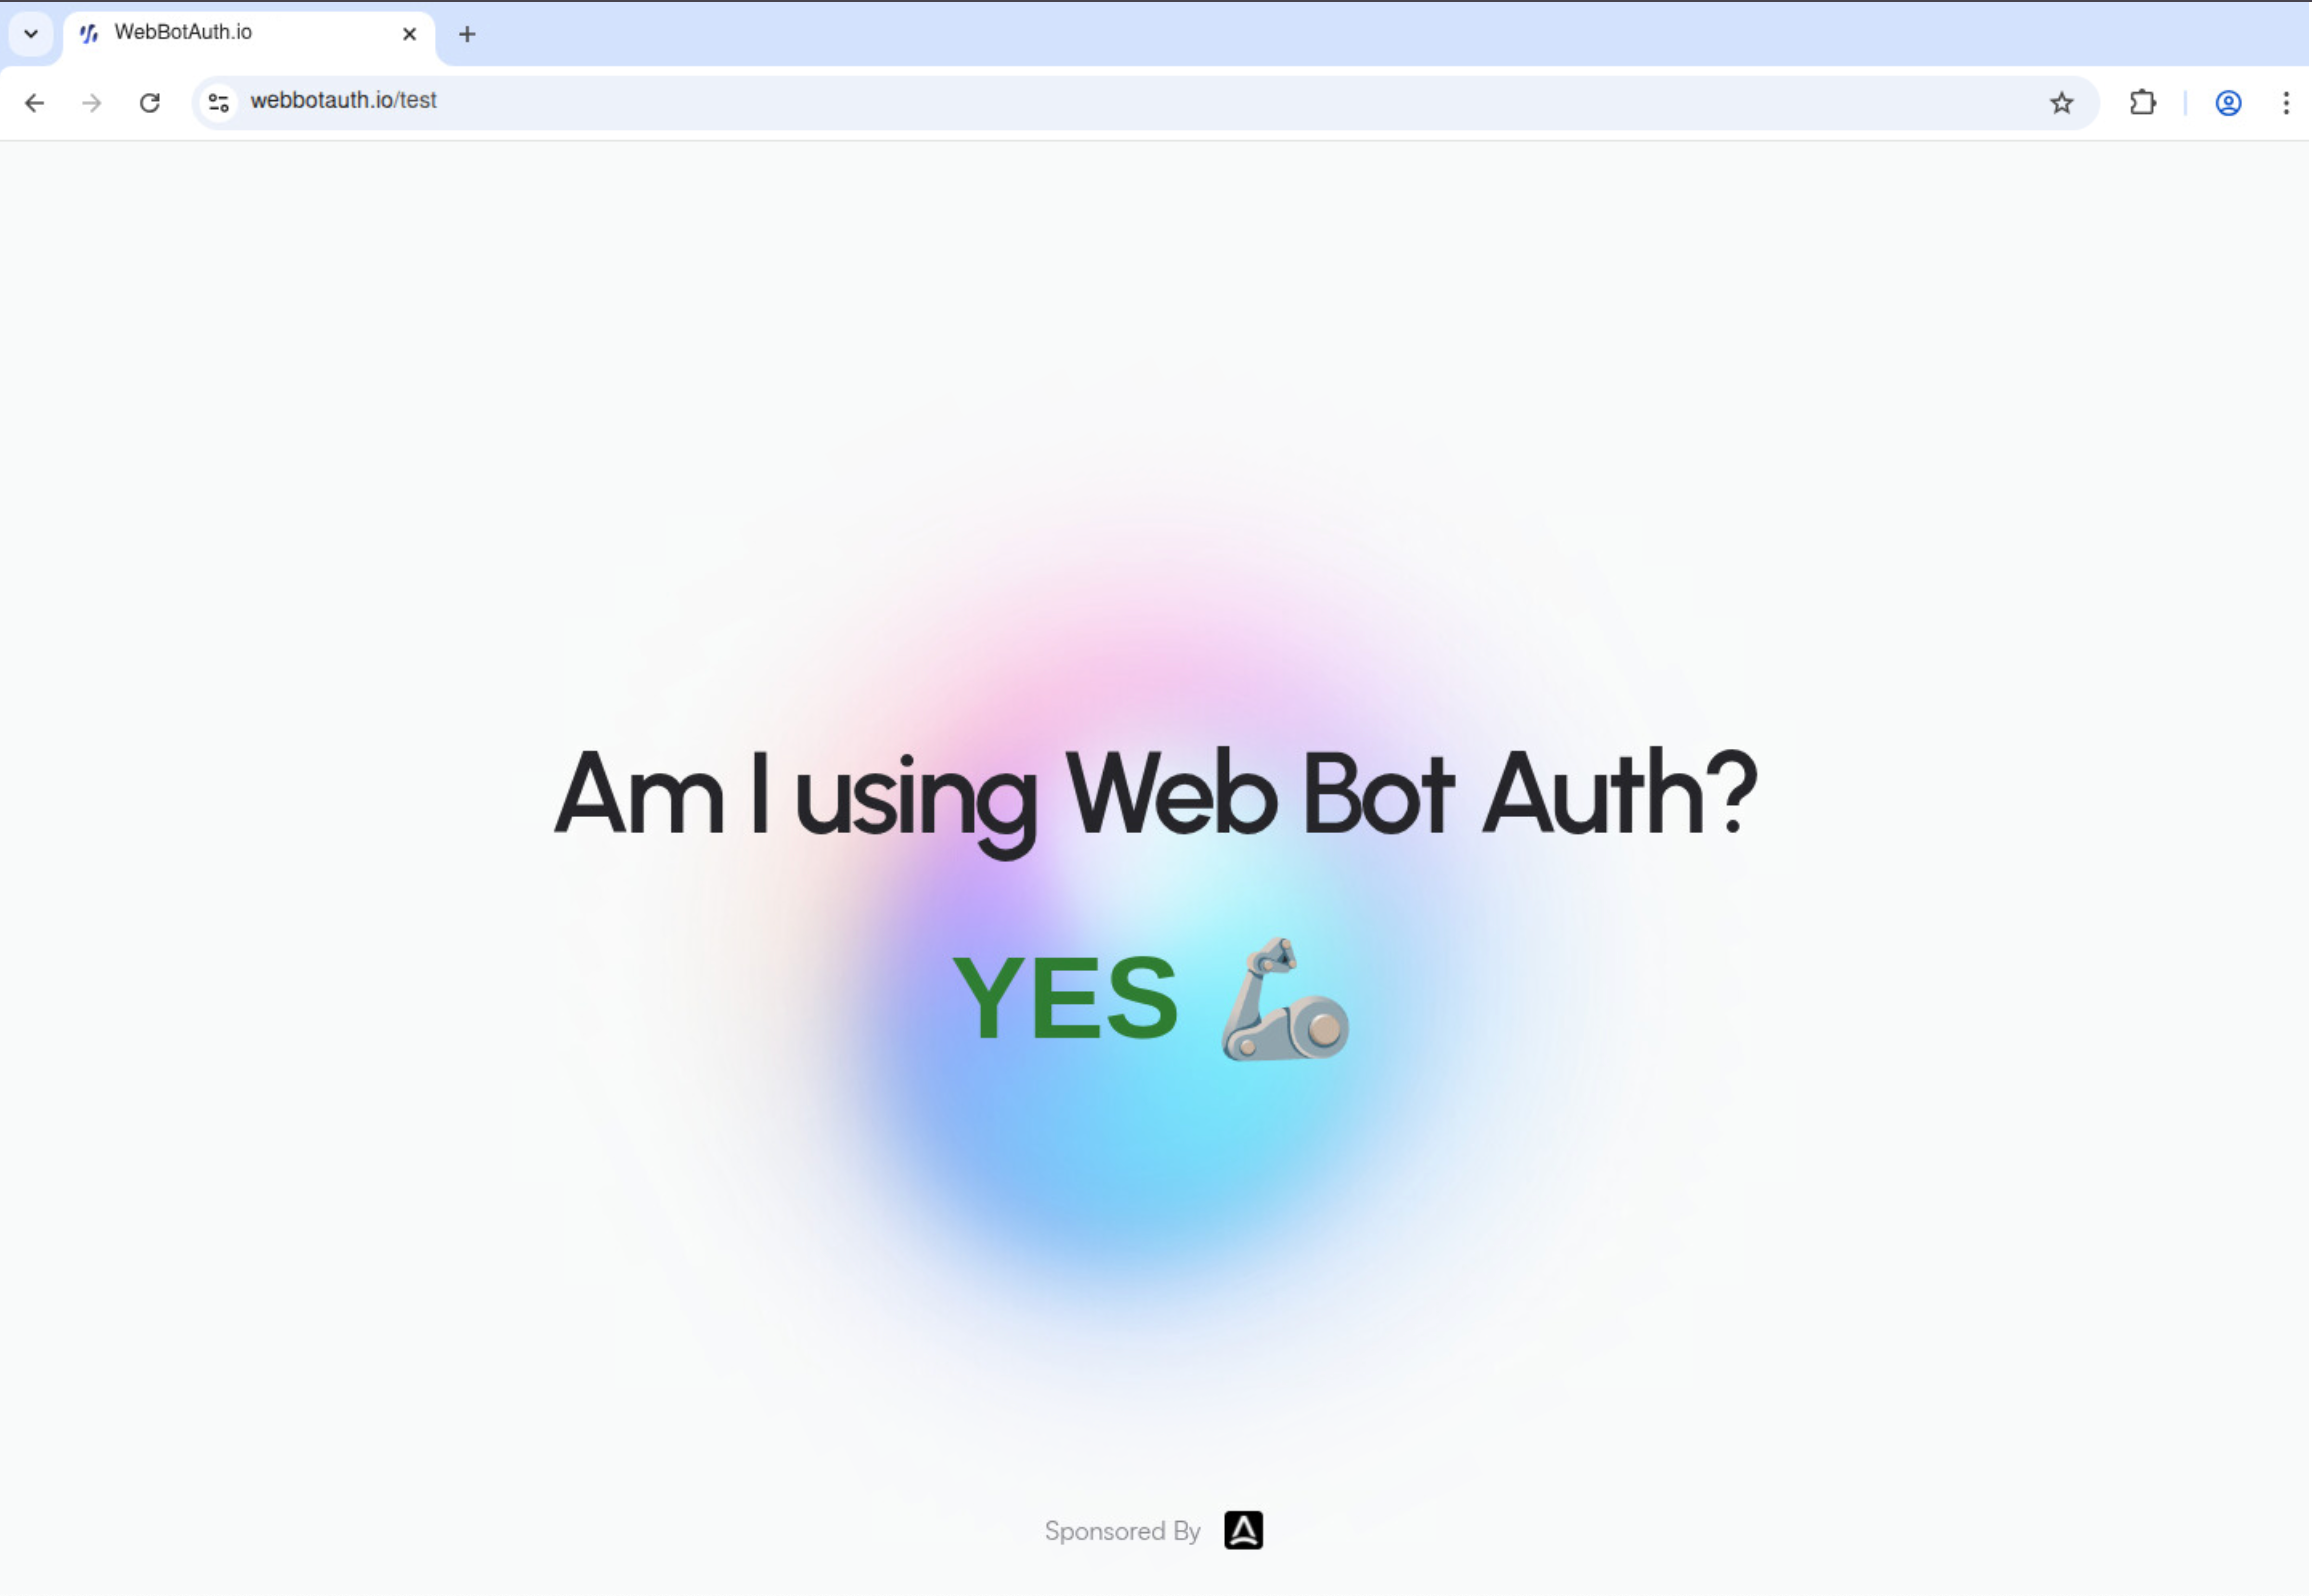
You can test your web bot auth configuration by visiting [https://webbotauth.io/test](https://webbotauth.io/test) in a browser session with web bot auth enabled. This site will show you whether your requests are being properly signed and authenticated.
## Read More
* [Cloudflare Verified Bots Blog](https://blog.cloudflare.com/verified-bots-with-cryptography/)
* [HTTP Message Signatures (RFC 9421)](https://datatracker.ietf.org/doc/html/rfc9421)
* [Web Bot Auth IETF Draft](https://datatracker.ietf.org/doc/html/draft-meunier-web-bot-auth-architecture)
* [WebBotAuth.io](https://webbotauth.io)
## How It Works
1. **Session Creation**: Create a browser session with web bot auth enabled
2. **HTTP Message Signing**: All HTTP requests are automatically signed as Anchor Browser
3. **Authentication**: Cloudflare validates the signatures
4. **Access Granted**: Successfully authenticated requests can access protected content
## Using Web Bot Auth
### How Authentication Works
When you enable web bot auth, Anchor Browser automatically identifies all HTTP requests to websites using our registered identity. This allows you to access protected content that requires Cloudflare's web bot authentication without any additional configuration.
### Browser Configuration
```typescript theme={null}
{
"browser": {
"web_bot_auth": {
"active": boolean // Enable/disable web bot auth (default: false)
}
}
}
```
### SDK Examples
Enable web bot auth by setting the `web_bot_auth.active` flag to `true` in your session configuration:
```python python theme={null}
from anchorbrowser import Anchorbrowser
import os
# Initialize the client
client = Anchorbrowser(api_key=os.getenv("ANCHOR_API_KEY"))
# Session configuration with web bot auth enabled
config = {
"web_bot_auth": {
"active": True
}
}
# Create session with web bot auth
session = client.sessions.create(browser=config)
print(f"Session created: {session.data.id}")
print(f"CDP URL: {session.data.cdp_url}")
print(f"Live view URL: {session.data.live_view_url}")
```
```javascript node.js theme={null}
import AnchorBrowser from 'anchorbrowser';
// Initialize the client
const client = new AnchorBrowser({ apiKey: process.env.ANCHOR_API_KEY });
// Session configuration with web bot auth enabled
const config = {
browser: {
web_bot_auth: {
active: true
}
}
};
// Create session with web bot auth
const session = await client.sessions.create(config);
console.log('Session created:', session);
```
## Testing
You can test your web bot auth configuration by visiting [https://webbotauth.io/test](https://webbotauth.io/test) in a browser session with web bot auth enabled. This site will show you whether your requests are being properly signed and authenticated.
## Read More
* [Cloudflare Verified Bots Blog](https://blog.cloudflare.com/verified-bots-with-cryptography/)
* [HTTP Message Signatures (RFC 9421)](https://datatracker.ietf.org/doc/html/rfc9421)
* [Web Bot Auth IETF Draft](https://datatracker.ietf.org/doc/html/draft-meunier-web-bot-auth-architecture)
* [WebBotAuth.io](https://webbotauth.io)